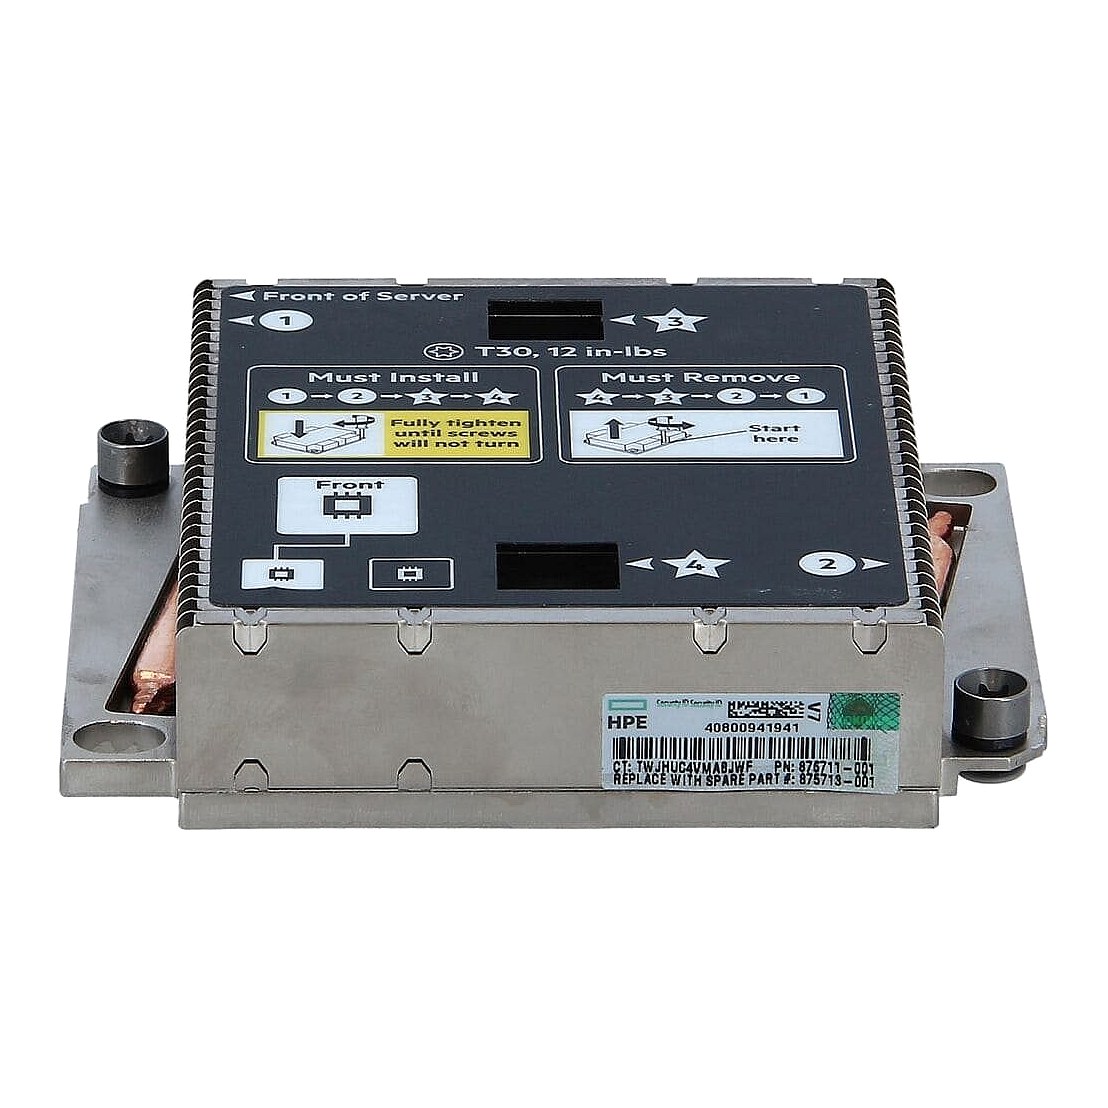
877966-001 HPE BL460 G10 (CPU 2) Heatsink

R2 114.85
was
Includes VAT
Tell me if the price drops
HPE Proliant BL460C G10 Heatsink Part #: 874213-001 / 865311-001 / 877966-001
- Brand: HPE
- Part #: 877966-001
- Alt. Part #: 874213-001 / 865311-001
- Specs:-
- :: Type: Blade Server CPU Heatsinks
- :: Heatsink Type: Screw Down Type (31 Fins)
- :: Compatibility: HPE PROLIANT BL460C G10 ( GEN10 ) Blade Server Systems
- :: Condition: New
- :: MPN: 877966-001
- Warranty: 1 (one) year Tekmart warranty
Key points to note on these 877966-001 HPE CPU#2 Heatsinks:-
This is a genuine OEM HP CPU #2 Cooling Heatsink for ProLiant BL460c Gen10 Blade Servers with Part # (s): 874213-001 865311-001 877966-001
The procedure for Removing and Replacing these Processor Heatsinks on HPE ProLiant BL460c Gen10 Server Blades.
Before performing this procedure, HPE recommends identifying the processor-heatsink module components.
To remove the component follow the steps given below:
- Observe the following alerts. WARNING: To reduce the risk of personal injury from hot surfaces, allow the drives and the internal system components to cool before touching them. CAUTION: :: To prevent possible server blade malfunction and damage to the equipment, multiprocessor configurations must contain processors with the same part number. :: The heatsink thermal interface media is not reusable and must be replaced if the heatsink is removed from the processor after it has been installed. :: To prevent possible server blade overheating, always populate processor socket 2 with a processor and a heatsink or a processor socket cover and a heatsink blank. :: To prevent damage to electrical components, properly ground the server blade before beginning any installation procedure. Improper grounding can cause ESD. NOTE: Processor socket 1 must be populated at all times or the server blade does not function.
- Update the system ROM.
- Power down the server blade.
- Remove the server blade.
- Remove the access panel.
- Remove all DIMM baffles.
- Remove the heatsink blank. Retain the heatsink blank for future use.
Replacing processor heatsink
To replace the component follow the steps given below:
Align the processor heatsink assembly with the alignment pins and gently lower it down until it sits evenly on the socket. The heatsink alignment pins are keyed. The processor will only install one way. (A standard heatsink is shown. User heatsink might look different)
Secure the heatsink using a T-15 screwdriver.
Replace all DIMM baffles.
Replace the access panel.
Replace the server blade.
Power up the server blade.
- Free collection from our store
- Secure checkout